How to Photograph the Northern Lights in Oregon
Seeing the Northern Lights for the First Time
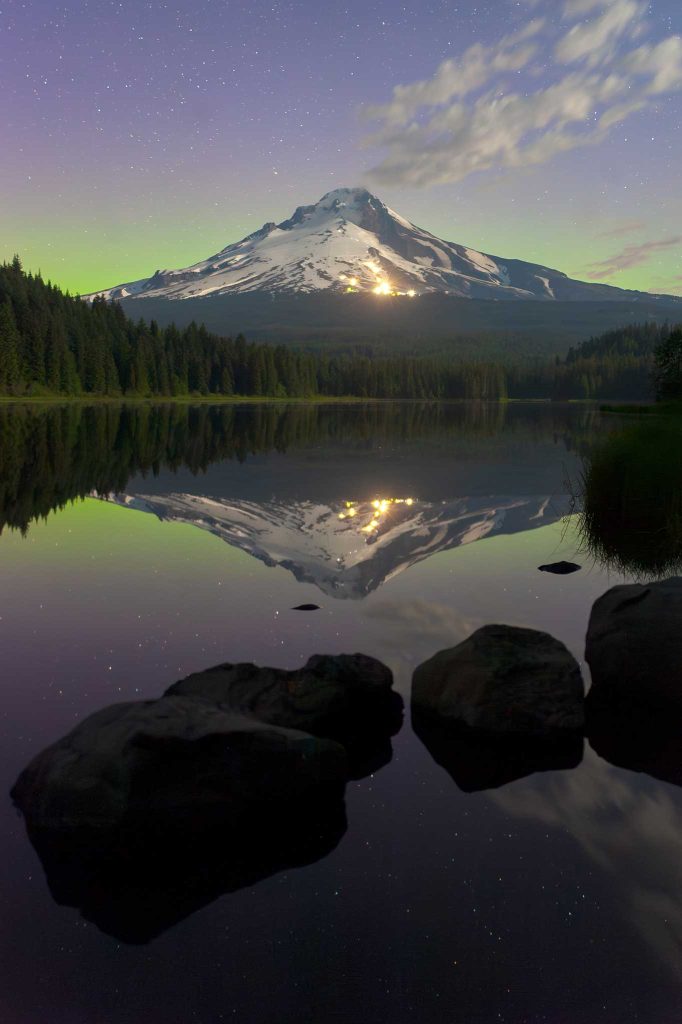
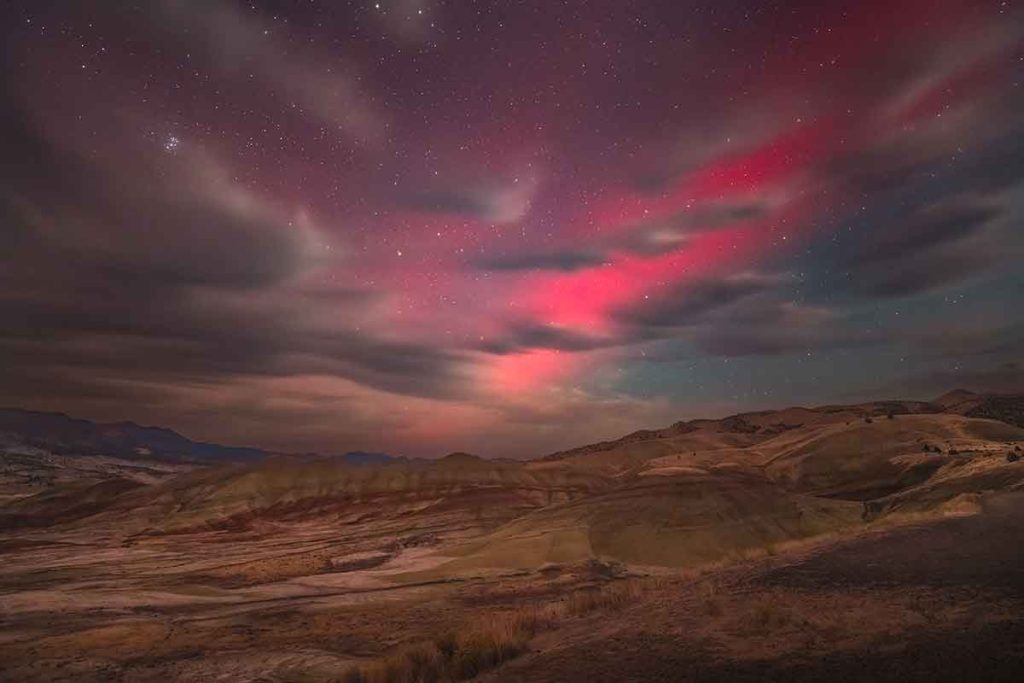
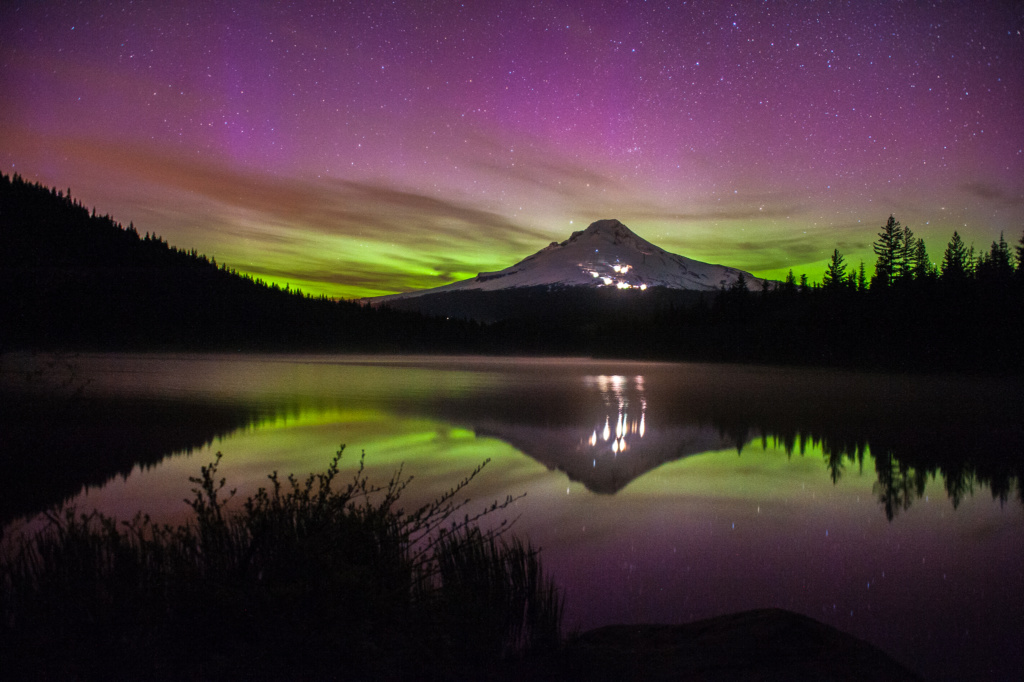
I’ll never forget the first time I saw the Northern Lights in Oregon. It was a faint green glow on the horizon. I was at Trillium Lake that night. My eyes saw what looked like city lights on the horizon, but my camera saw green. Not knowing that the aurora could cast its lights over Oregon, I thought that there was something wrong with the image. I tried to “correct” it in Photoshop until it occurred to me that it might be the northern lights.
This was back in 2013. When I posted it online many people didn’t believe that it was real.
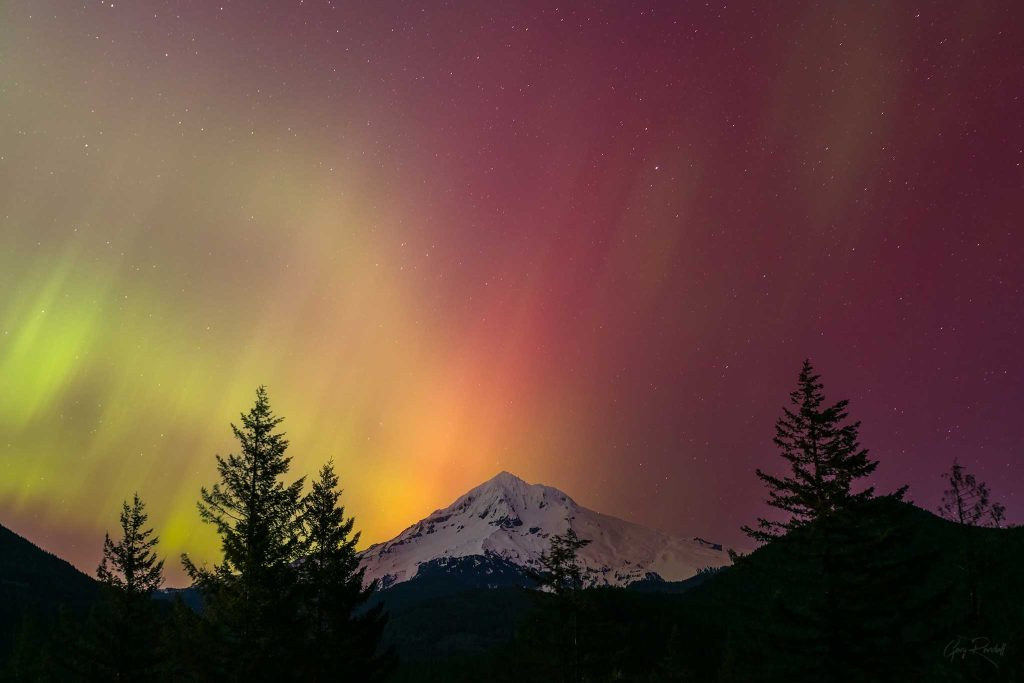
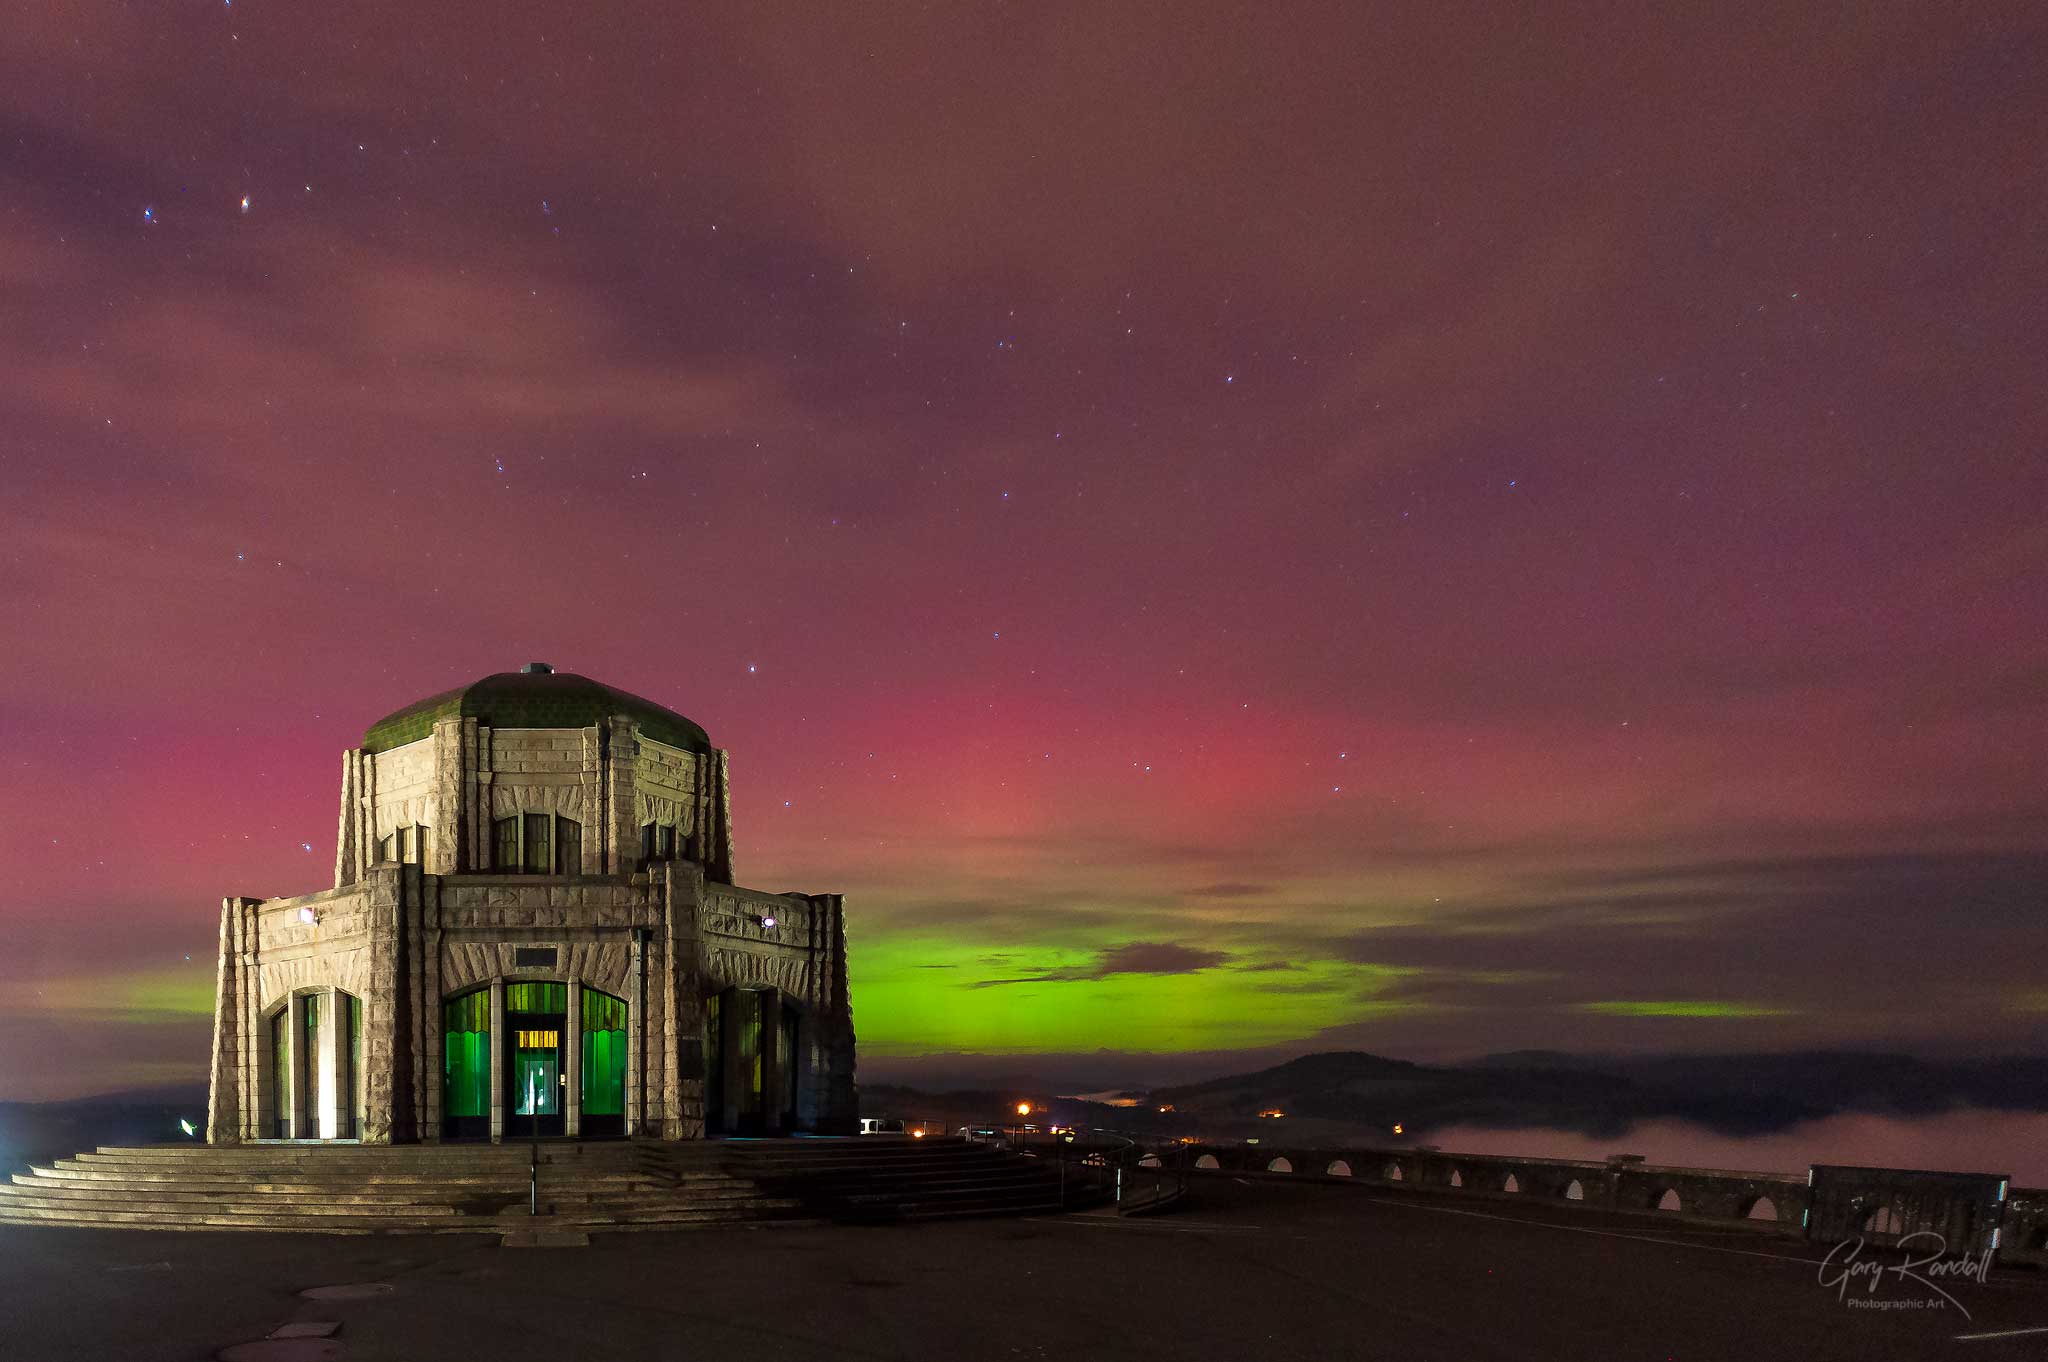
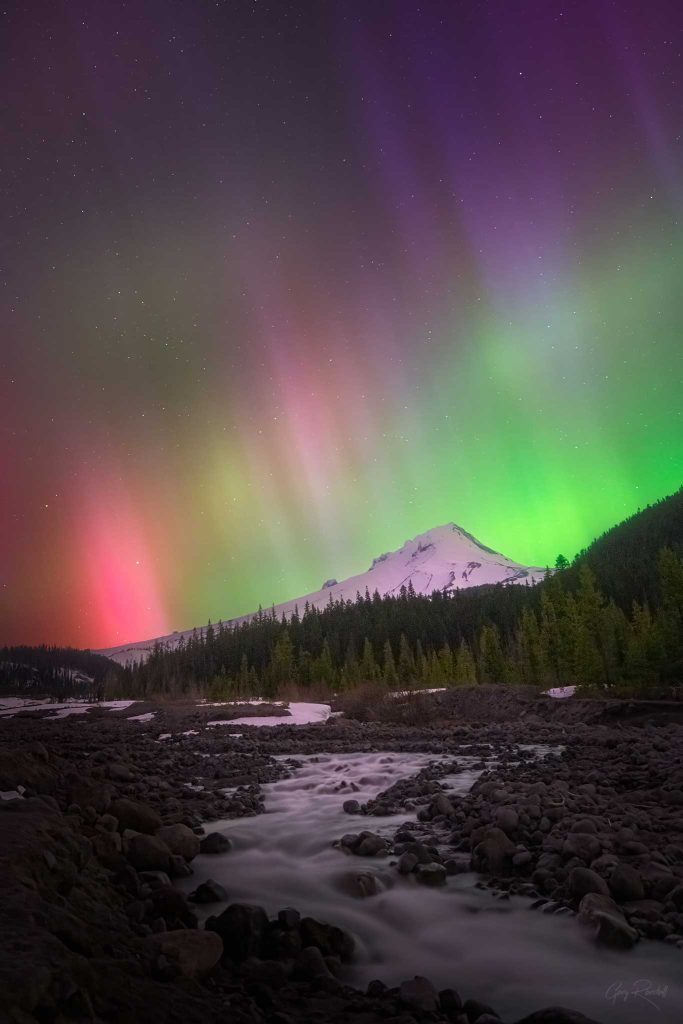
In Oregon, the aurora requires careful planning and exposure settings. I typically used exposures of 10 to 20 seconds, just to pick up the color. There was rarely any definition or movement visible—just a soft, colorful glow in the sky.
An Unforgettable Night in Alaska
My first true aurora experience happened while visiting my wife, who was then my girlfriend, at her cabin near Palmer, Alaska. I arrived in Anchorage around 11 p.m., and by midnight we were sitting in her dining room discussing the surrounding land. I suggested a midnight walk to the Knik River, and we grabbed our tripods and cameras.
It was a moonlit night—normally bad news for aurora visibility in Oregon—but I didn’t expect to see anything anyway. We hiked through the trees and reached the riverbank, and as my eyes adjusted, I noticed a faint green shimmer in the sky.
When we stepped out onto the beach, I was stunned. Before us was the still surface of the Knik River, reflecting the rugged Chugach Mountains and a vivid green aurora dancing above them. The lights moved like soft curtains in a breeze. A full moon illuminated the scene. It was one of the most beautiful sights I’ve ever witnessed.
Aurora Photography Settings: Lessons Learned
I started with long exposures, as I’d done in Oregon, but quickly noticed that the “curtains” blurred into a green smear. The movement of the aurora was too fast for a long exposure. I realized it was similar to photographing flowing water: longer shutter speeds blur motion, while shorter ones freeze it.
To fix this, I increased the ISO and shortened the shutter speed. The trick was to expose the image correctly in-camera to avoid having to boost exposure later, which increases noise. In fact, it’s better to use a higher ISO and expose properly than to underexpose and correct in post.
Use the Histogram to Nail Exposure
Check your histogram. Expose to the right (ETTR) without blowing out the highlights, especially during bright auroral activity. This helps retain detail while keeping noise manageable.
Final Tips for Photographing the Northern Lights
Here are a few quick tips based on my experience:
- In Oregon: Use shutter speeds between 10–20 seconds. You’ll likely be capturing a dim, stationary glow.
- In Alaska or areas with strong aurora: Use a faster shutter speed—ideally no more than 2–3 seconds—to retain detail in the lights.
- Aperture: Use a wide aperture like f/2.8–f/3.5 to let in more light.
- ISO: Don’t be afraid to raise it. A brighter, properly exposed photo at high ISO will look better than a noisy one corrected in editing.
- Tripod: Always bring one. Even a fast exposure won’t be fast enough to handhold in the dark.
Photographing the aurora is part science, part art, and all magic when it comes together just right. Whether you’re in Alaska or Oregon, being out under the Northern Lights is an experience you won’t forget.
